1. Login to your WordPress admin dashboard.
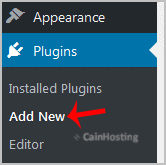
2. Under the dashboard menu, hover your mouse over "Plugins" and click on "Add New".

3. In the “Search Plugin†box, enter the name of the plugin you wish to install, such as “Jetpackâ€, and press enter.

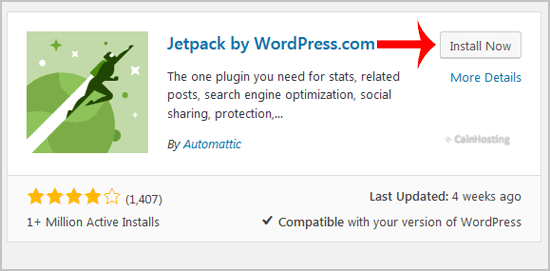
4. The available plugins matching the keyword “Jetpack†will appear. Click on the “Install†button which appear next to the plugin’s name.

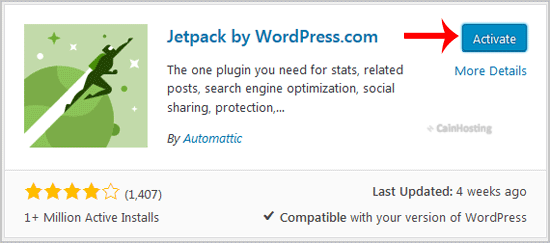
5. The installation can take a few minutes. Once it is complete, it will display the “Activate†option. Click on it to activate your newly installed plugin.

Note: The newly activated plugin will show in the sidebar menu. If a plugin requires a setup, it will display an option to complete it.

